App Service
App Service Plan Creation
Create an “App Service Plan”:
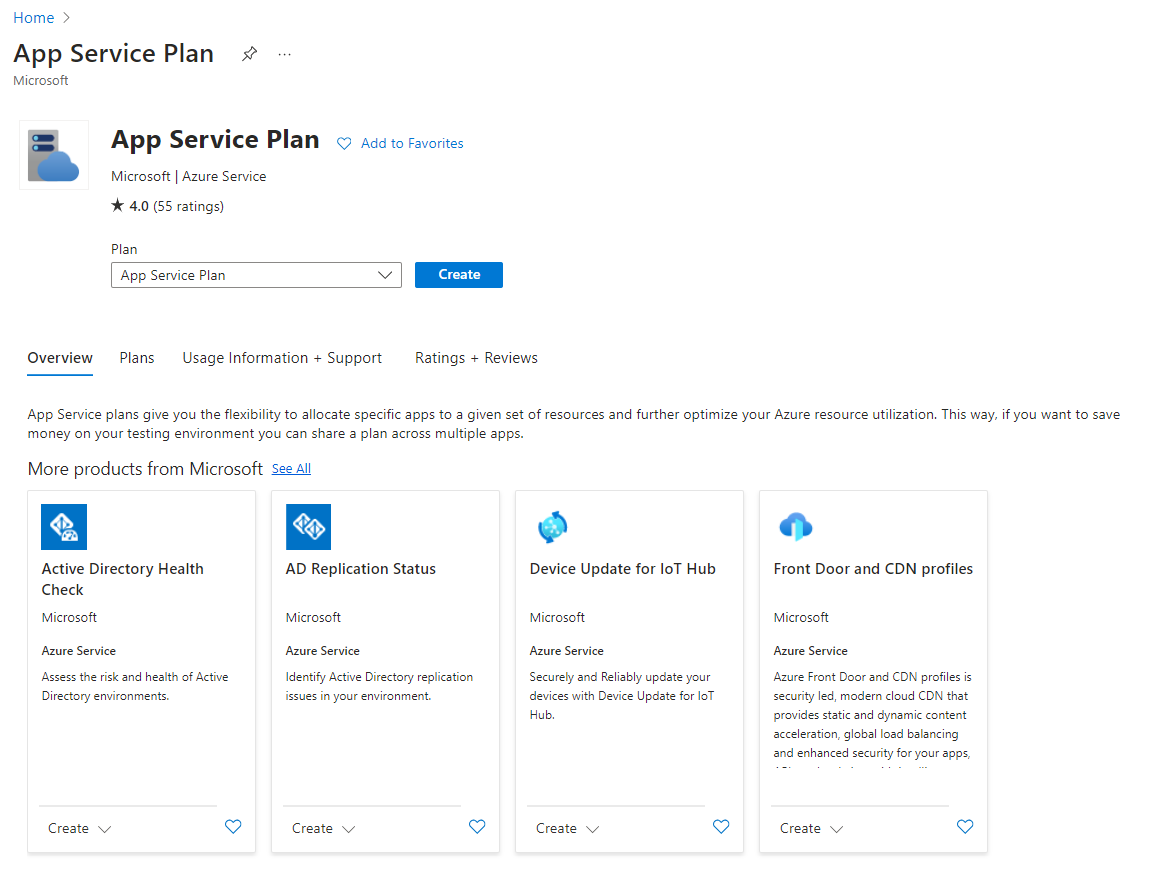
During creation, select “Windows” as the “Operating System”.
Pricing Tier
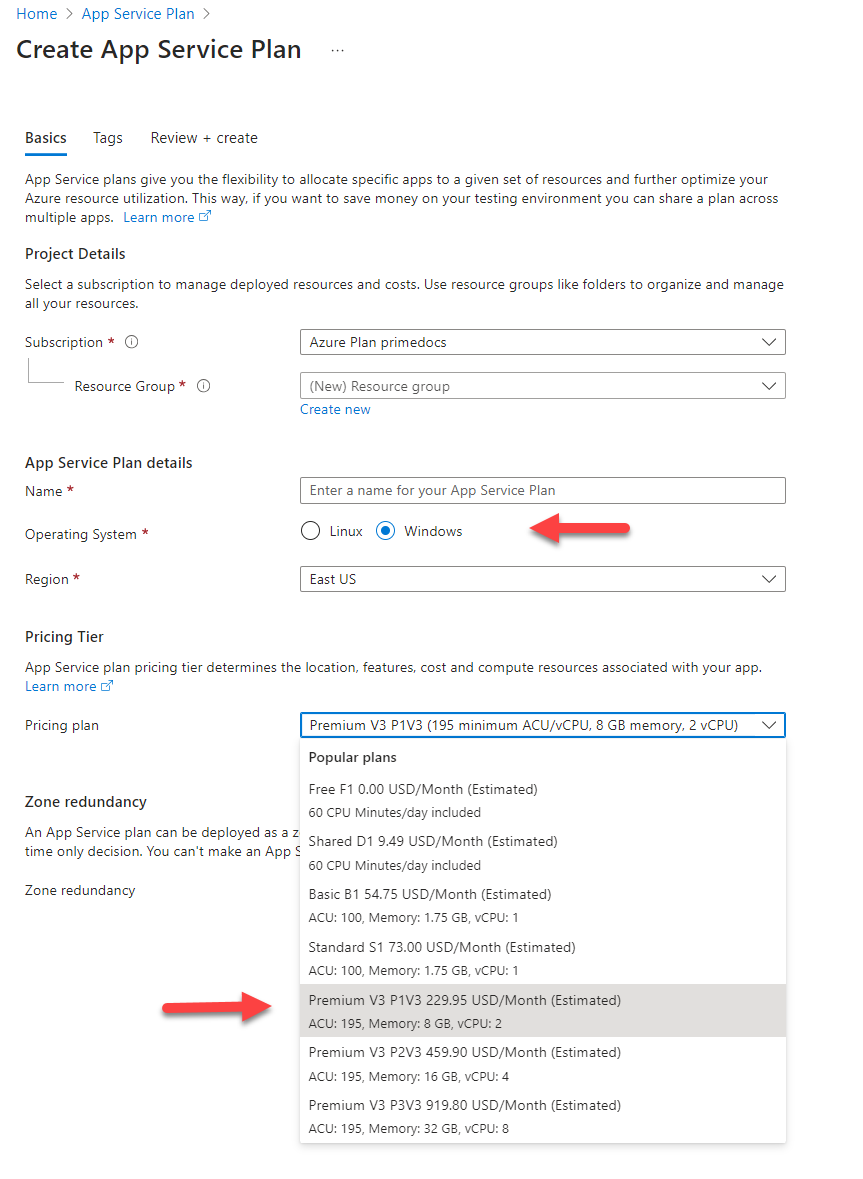
Recommendation: The "Premium V3 P1V3" plan is also suitable for larger installations. However, cheaper entry-level plans are also possible.
Web App Creation
After creating the “App Service Plan”, create a “Web App”.
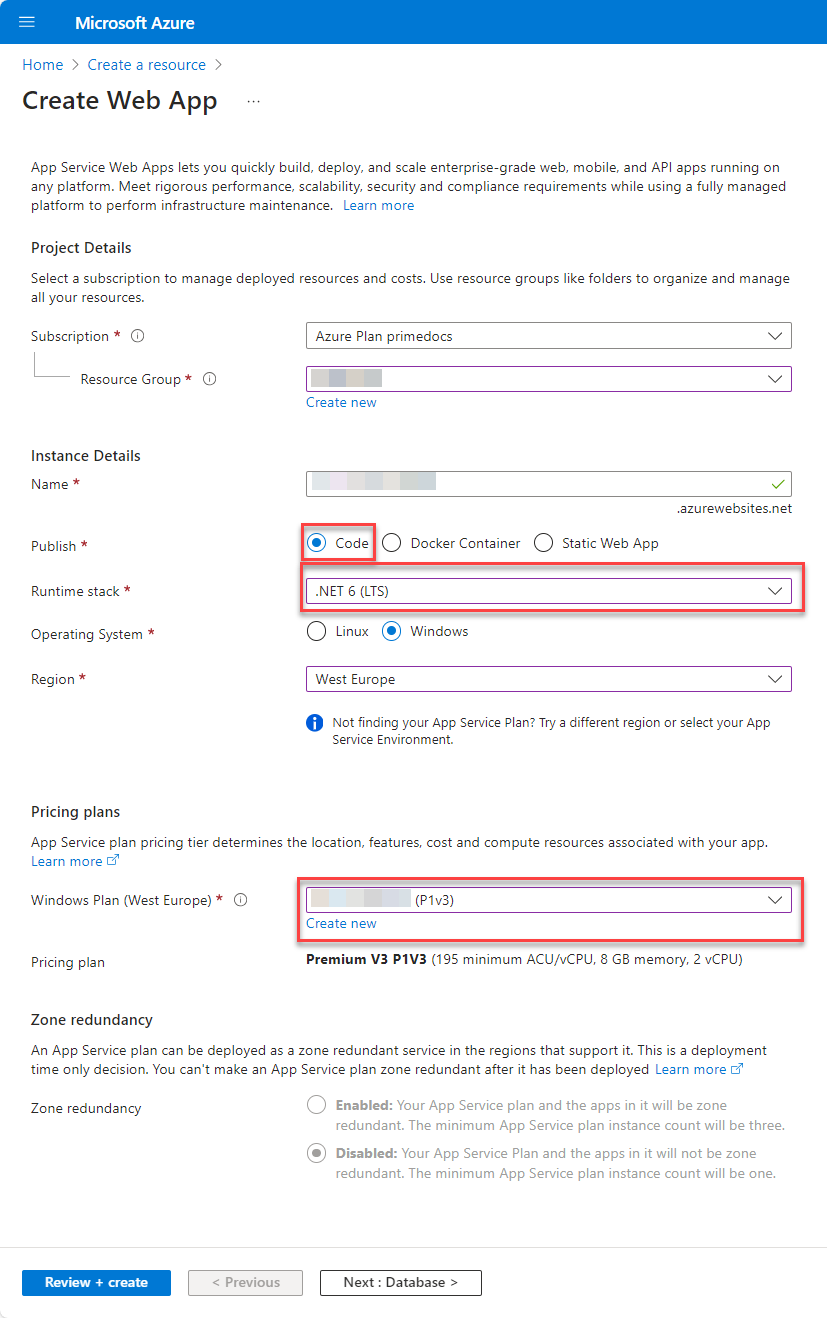
We recommend the following settings:
- Select any name - usually an alternative DNS entry is created, which is communicated to the users.
- Under Publish, select the Code option.
- Under Runtime stack, select the .NET 10 (LTS) option.
- Select the Windows plan you have just created.
Web App Configuration
Application settings
Enter these three options in “Application Settings”:
| Name | Value |
|---|---|
| PrimeDocs_Config_URL | https://[Storage-Account-Name].blob.core.windows.net/primedocs-customer/{FILENAME} |
| SCM_POST_DEPLOYMENT_ACTIONS_PATH | c:\home\site\wwwroot |
| WEBSITE_LOAD_USER_PROFILE | 1 |
For the PrimeDocs_Config_URL entry, use the storage account name from this step: Storage Account.
Example entry: https://primedocscustomer.blob.core.windows.net/primedocs-customer/{FILENAME}
The {FILENAME} placeholder stands for the file name of the uploaded primedocs.config in the primedocs-customer container (see Complete configuration). Replace it with the actual file name.
Always On (WebJobs execution)
primedocs relies on Azure WebJobs, e.g. to synchronise user data in the background. Execution is handled by a CRON task that runs at night.
This function can only run while the App Service is running. The “Always On” option is therefore mandatory.
Platform (64-bit)
Set the App Service platform to 64-bit: Configuration → General settings → Platform → 64 Bit.
The primedocs server applications run exclusively as a 64-bit process. The server package ships its native dependencies (SQL client, image and document rendering) only as the x64 variant; they cannot be loaded in a 32-bit process.
Path Mappings
The following paths must be configured - Make sure that you create the new entries as "Application":
| Virtual Path | Physical Path | Type |
|---|---|---|
/ | site\wwwroot | Application |
/service | site\wwwroot\Service | Application |
/addressservice | site\wwwroot\AddressService | Application |
/adminapp | site\wwwroot\AdminApp | Application |
/app | site\wwwroot\App | Application |
/connect | site\wwwroot\Connect | Application |
/datasourceadminapp | site\wwwroot\DataSourceAdminApp | Application |
/docs | site\wwwroot\Docs | Application |
/healthmonitor | site\wwwroot\HealthMonitor | Application |
/ids | site\wwwroot\IdS | Application |
/mcp | site\wwwroot\Mcp | Application |
/webapi | site\wwwroot\WebApi | Application |
Identity
Activate the Managed Identity (System Assigned):
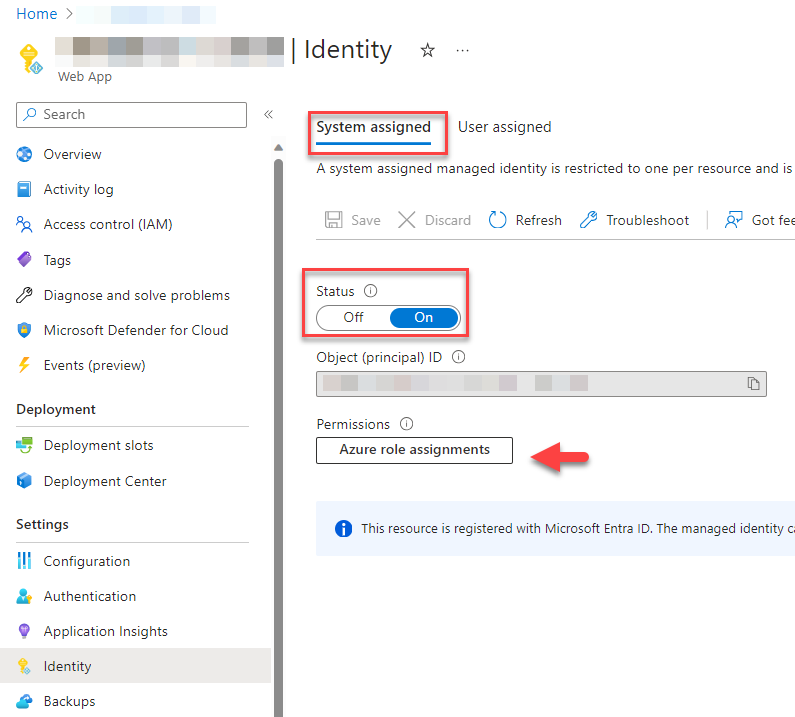
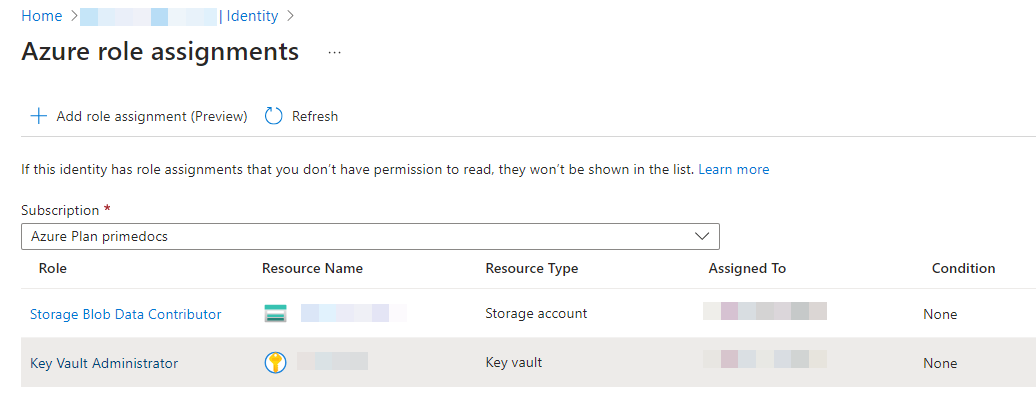
Now assign the following roles via "Azure role assignments":
- Select the created Storage Account from this step and select
Storage Blob Data Contributor. - Select the created Key Vault from this step and assign a role that allows encrypting and decrypting the DataProtection key.
Following the principle of least privilege, the Key Vault Crypto User role is sufficient for day-to-day operation: it lets the App Service encrypt and decrypt the DataProtection key without being able to manage or delete keys. The broader Key Vault Administrator role is not required for operation.
It should look like this afterwards:
URLs and HTTPS
Store any domain and a certificate using the tools provided by the Azure portal.
The selected domain must be stored in the App Service as well as in the Entra ID App Registrations and in primedocs.config.